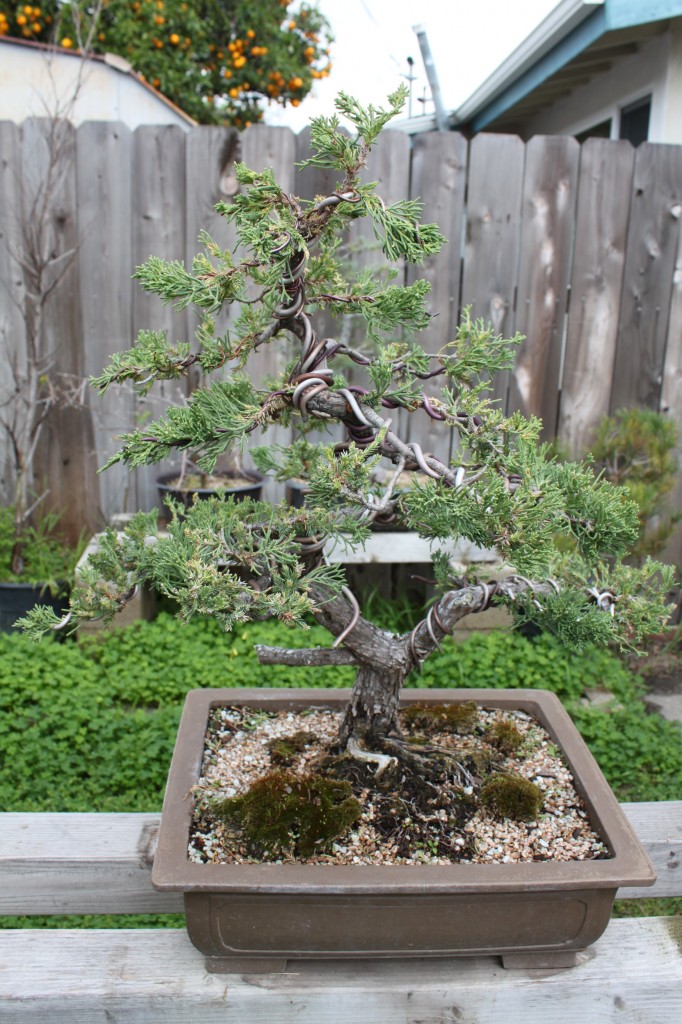
Juniper Bonsai
Juniper Bonsai
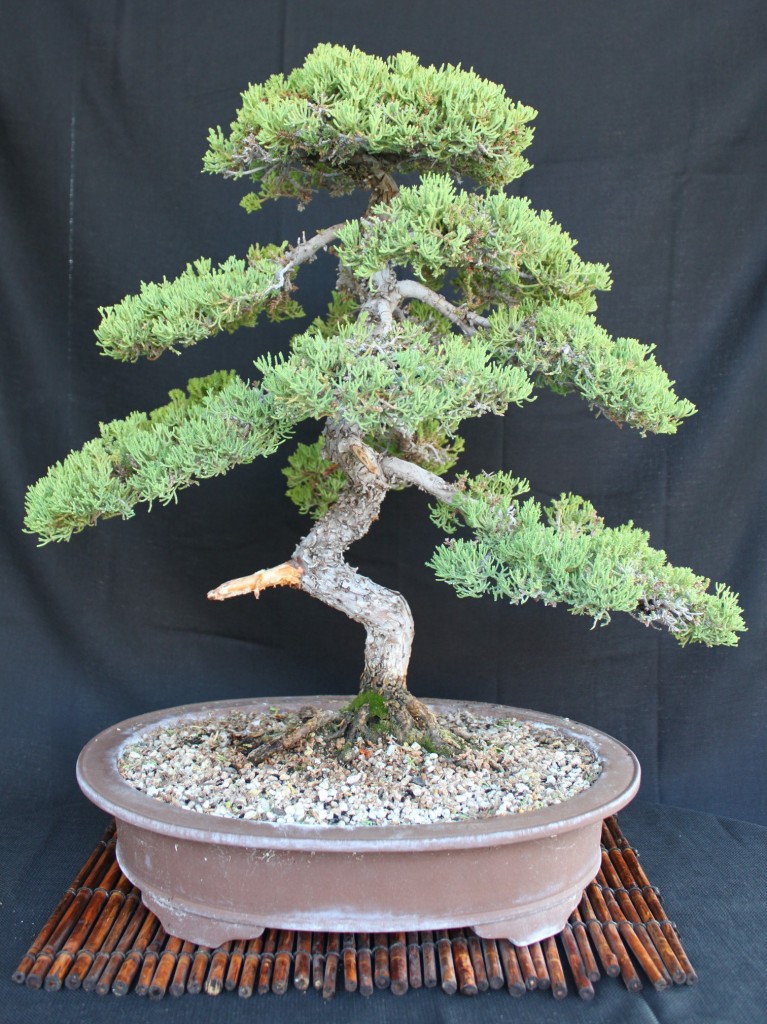
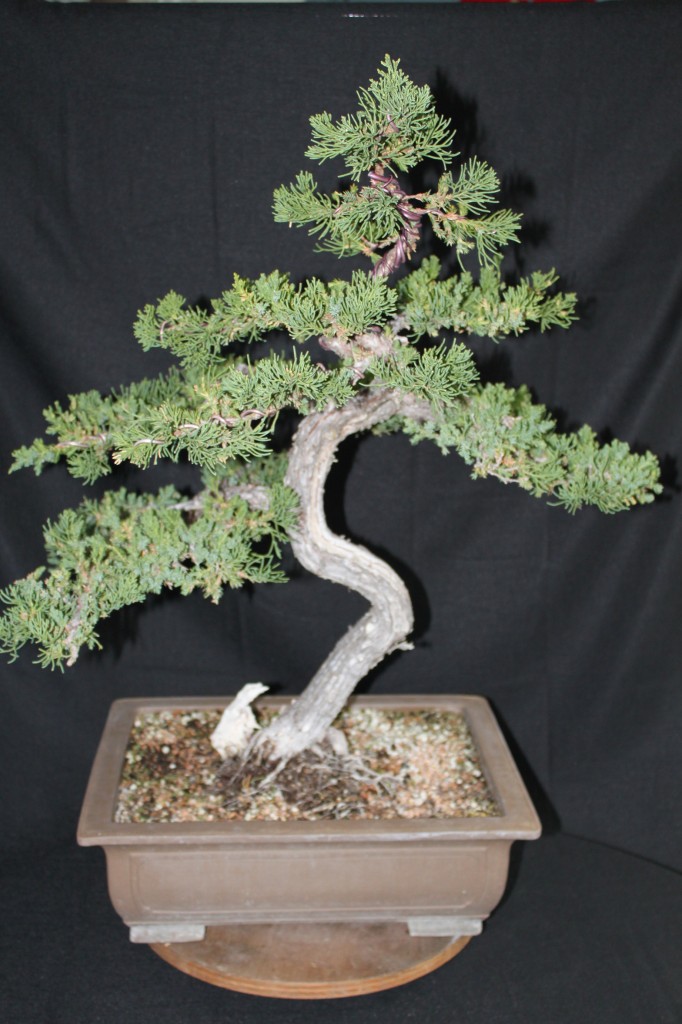
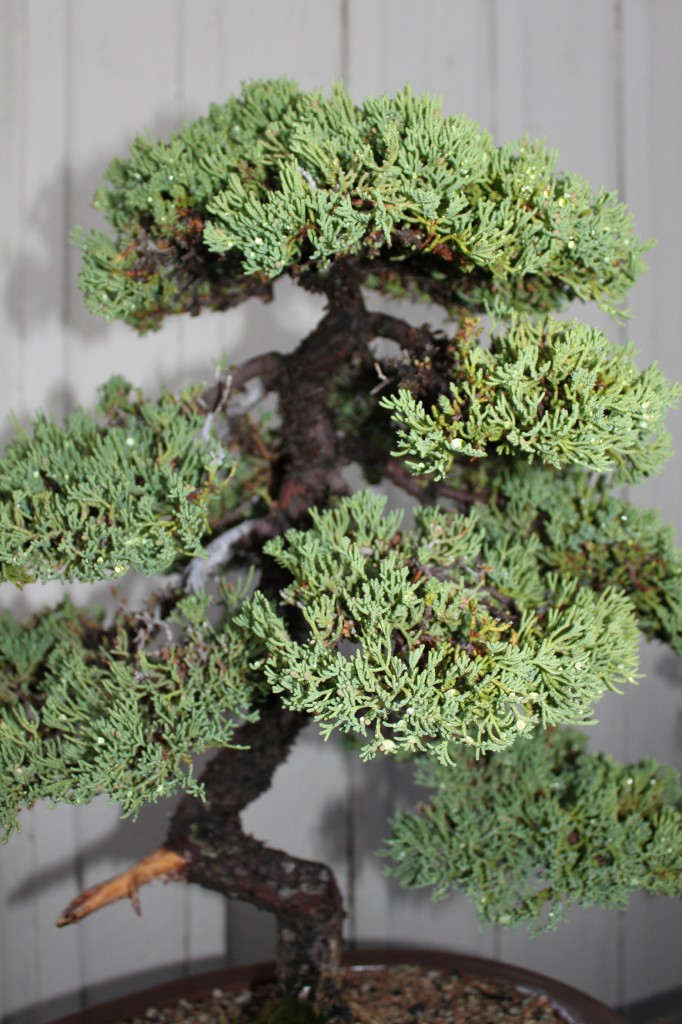
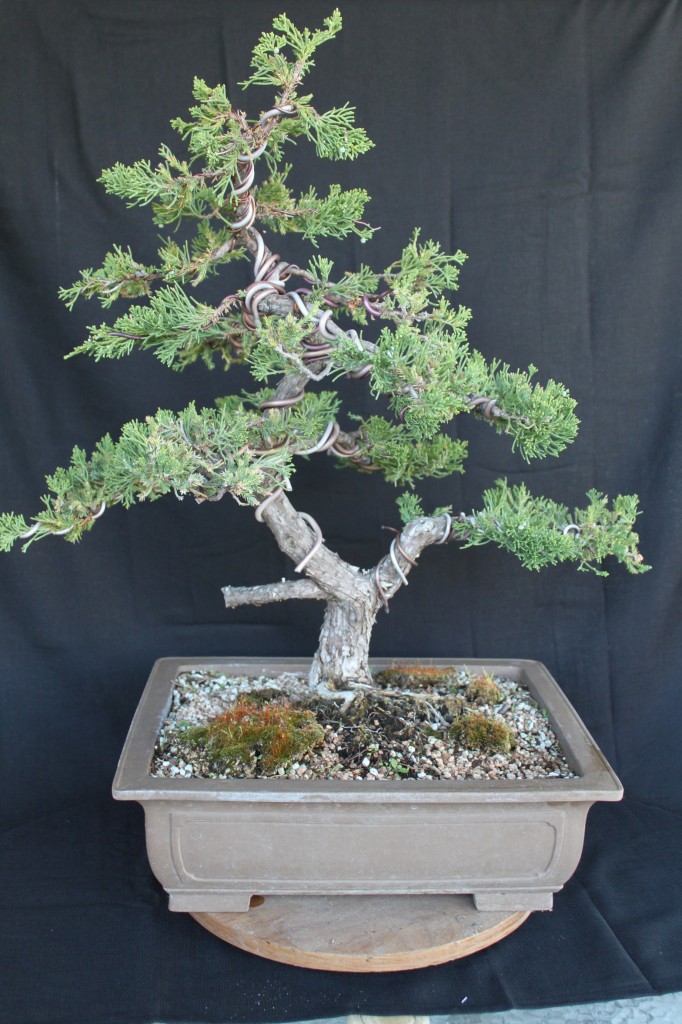
Someone once refered to the Juniper bonsai as “the artist’s canvas.” Junipers are so versatile, that a skilled bonsai artist can shape a Juniper into just about any style of bonsai. If you are new to bonsai, chances are, a Juniper will be one of the first bonsai trees you will encounter. With their finely textured foliage and rugged bark, a Juniper will convey the perfect impression of the wilderness in miniature. Junipers are easy to shape by pruning and wiring, and a juniper purchased from a nursery often already has dense branching, making it easy to shape it into a bonsai.
Background:
Genus Juniperus consists of 60 to 70 species which are distributed throughout the temperate and subtropical regions of the Northern Hemisphere. Junipers are popular as ornamental plants in gardens. The berries are known to have some medicinal value. They are also used to flavor food, but their best known use is to flavor gin.
In the wild, in dry or windy locations, Junipers have an unusual survival tactic. Junipers survive dry weather by dying back. Very old junipers may repeat this process over and over again. The dead branches lose their bark, and then are bleached by the sun and polished by sand and grit blown by the wind. The result is extensive masses of deadwood, and this is what makes very old junipers extremely attractive to bonsai enthusiasts.
Types of Juniper Suitable For Bonsai:
The Classics:
Juniperus Chinensis var. Sargenti: Sargent or Shimpaku Juniper
Juniperus Chinensis Prostrata: Prostrata Juniper, probably a crossbreed with Juniperus Squamata
Juniperus Chinensis “San Jose.” San Jose Juniper, also a Chinensis crossbreed.
Juniperus Procumbens: Japanese juniper, native to coastal regions of Japan. Sometimes classified as a subspecies of Juniperus Chinensis.
The following varieties are often collected by enthusiasts who live within or near the range where they grow naturally:
Juniperus Scopularum: Rocky Mountain Juniper
Juniperus Californica: California Juniper
These are available to European Enthusiasts, and sometimes in American nurseries:
Juniperus Sabina: The cross between this and Juniperus Chinensis is known as Juniperus Pfitzer or Juniperus x Media.
Juniperus Communis: common Juniper, native to both Europe and North America
Juniperus Excelsa: Greek Juniper.
Juniperus Polycarpos: Persian Juniper.
Buy One or Make One?
If you are a beginner in bonsai, there are advantages to both strategies. If you buy a Juniper bonsai which is well styled, it can serve as a three dimensional model for you to learn how to style your other trees. However, there is some expense involved in purchasing an established bonsai, particularly one which is well styled. For a fraction of the cost, you can create your own. You will still need to buy a bonsai pot, though.
If you decide to create your own bonsai, you will need to go to a garden center, landscape nursery, or the garden department of your local “big box” store in order to purchase the raw material. There are several varieties of juniper available in nurseries, but the easiest one for beginners to work with is Juniperus Procumbens Nana, also called the Japanese Ground Juniper, Japanese Garden Juniper, or the “Green Mound” juniper. These Junipers are usually sold as ground cover in temperate climates, and are usually available in one gallon and five gallon sizes. Try to find one that has a thick trunk, and some strong upper branching that you can use to create the top of the tree. Buying a Prostrata or San Jose Juniper will give you a thicker trunk to begin with (especially if you purchase a five gallon specimen) but the coarser foliage means you will likely be creating a larger bonsai.
A note about this: just about all bonsai experts have two rules when shaping raw material: 1) Make the smallest bonsai you can from the raw material (this way you will get the thickest trunk); and 2) With that said, let the bonsai find its own size as you shape it for maximum beauty. Do not try to force your tree to a particular size.
Creating the Juniper Bonsai
(Skip this part if you purchased one already made). Once you have your raw material home, you will need to prune and shape it. Remove it from the nursery pot, or cut away the rim of the nursery put so you can access the lower part of the tree’s trunk. Most nursery plants are too deep in the soil, so scrape away the surface soil to see what the root spread looks like. Prune away the undergrowth, and prune out enough inner growth so you can see what the branching is like. Find a strong central branch to act as the upper trunk or leader, and wire or stake it into an upright position (if you are styling an upright tree – skip this if you are doing a windswept or a cascade). Select your side, front and back branches and prune away unwanted growth. You should have back branches starting above the first side branch and continuing to the top, and front branches on the top half or third of the tree. Front and back branches give the tree three dimensional reality.
Potting the Juniper Bonsai
First, you will need a bonsai pot. As a rule of thumb, the depth of the pot should be equal to the thickness of the trunk at the base, and the width of the pot should be two thirds the height of the tree. However, for your first bonsai effort, the pot should be a little oversize. You should remove no more than a third of the root mass after the juniper comes out of the nursery pot, and your bonsai training pot should be large enough to hold the newly pruned root mass, with some additional soil volume for future growth. As a rule of thumb, your first bonsai pot for the juniper should be half as high and twice as wide as the nursery pot. One final note: As pretty as that blue glazed pot is, glazed pots are not appropriate for Junipers. Use an unglazed brown pot, please.
You will also need some bonsai soil. Instead of just buying that bag marked “bonsai soil” at the garden center or nursery, check out our bonsai soil page first. It is important that you get the soil mix right, or your project is doomed from the start.
Clean the old soil from the roots with a root hook, chopstick, or wash it off with a hose. Prune the roots to fit the bonsai pot. Fit some drainage screens to the holes in the bonsai pot, and put a layer of bonsai soil in the pot. Position the tree and wire it in place if necessary. Fill in around the roots with bonsai soil, and work the soil in with a chopstick.
Once the roots are completely covered with soil, you can dress the top with clean aquarium gravel, or washed and sifted coarse sand. You can add one or a few larger rocks to make a more natural appearance. This is not strictly in keeping with the rules of bonsai, but this is your art and your tree. Do what pleases you. You can also add some moss, but do not go overboard. Do not cover the entire surface of the soil. If there is too much moss, the moss can suck up all the water, drying out the soil underneath and harming the tree — or it can hold in too much water and cause root rot.
After you complete the repotting operation, water the tree until water runs out the bottom of the pot.
Where to Keep Your Bonsai:
Junipers are outdoor trees. Period. Do not attempt to keep one indoors. While Junipers ordinarily prefer full sun, the small soil volume of a bonsai container will dry out rapidly if you keep one in full sun. The best place for a Juniper bonsai is on a covered patio or porch that faces south, east or west, so it will receive some sun but be sheltered in the hottest part of the day. Junipers are winter hardy, and will not need winter protection except in the most severe climates.
Watering:
Most good bonsai soils are designed to drain well, and your Juniper bonsai will need to be watered at least once every other day, and possibly every day. You should never leave it waterlogged, and never let it dry out completely. If your Juniper is waterlogged a day after being watered, then your soil does not drain well enough and needs to be changed.
Pests and Diseases:
Junipers tend to be relatively pest and disease free. The commonest problems are red spider mites, particularly in hot weather if you do not water enough, and Juniper weevils, which are small beetles that eat the new growth tips.
Maintenance:
Prune your Juniper bonsai by pinching out new growth with your fingers every two weeks or so to preserve its shape.
Enjoy:
Enjoy your new Juniper bonsai and your new hobby. In a small ceramic pot, you have a high mountain vista or a vision of a distant forest. Your little tree will bring you great beauty and contentment for many years to come.

